Do you ever wish you could slow down and hop off the hamster wheel of running your business?
Do you find yourself feeling constantly overworked and overwhelmed, and yet never really getting ahead?
You aren’t alone!
I hear this ALL. THE. TIME. from people…especially service providers. They tell me they love what they do, but they wish they could do a little less of it – while continuing to earn a good income.
But is this really possible?
Is there really a way you can stop trading time for money, so you don’t constantly feel overwhelmed?
I’m here to tell you that YES! It IS possible!
In this post, I’m going to show you exactly how you can leverage your expertise in your field to start earning passive income through creating an online course.
We’ll go step-by-step through the process of creating a course, including:
- How to know if an online course is the right strategy for you
- How to decide which software you’ll use
- How to choose the topic for your course
- How to test your idea BEFORE you create your course
- How to attract a steady stream of students
If you’ve been toying with the idea of creating an online course, keep reading. This is the step-by-step guide that will finally spur you into action!
Step 1: Decide if Creating an Online Course is Right for You
Before you jump in and start the hard work of actually creating your course, it’s important to be 100% sure this is the right move.
While I believe there’s a market for courses in just about any niche, I’d encourage you to ask yourself these 5 questions before you move any further in the process!
-
Do I have proven expertise and experience in this field?
While you don’t necessarily have to be the leading expert in your field, it’s extremely helpful if you already know a lot about your topic…and have built up some credibility in your field.
For instance, have you:
- Worked in your field for a long time?
- Spoken at industry conferences or workshops?
- Written a book?
- Started a blog that people in your field know about and respect?
- Had training and/or schooling in your area of interest?
I can give you plenty of examples of people who have successfully created online courses without any of these qualifications…so if this is you, take heart!
While being an expert in your field will certainly make it easier to create and sell your course, it’s not a “must have”.
-
Do I already have an audience who wants to learn from me?
Again, this isn’t an absolute must. However, it will make things much easier for you!
Do you already have:
- lots of people who follow you on social media?
- a big, engaged email list?
- a blog that people in your niche visit regularly?
If so, this will make it much easier to find popular topics and to get students for your course.
The takeaway here: If you’re thinking of creating an online course, START HERE. Even if you know you won’t launch your course for several months, start building your audience, NOW.
This way, once your course is ready to go, you’ll have an audience that’s ready and waiting!
-
Do I know which topics my audience wants to learn about?
This is key!
Even the most well-designed course will flop if its intended audience doesn’t care about the topic.
[click_to_tweet tweet=”Even the most well-designed course will flop if its intended audience doesn’t care about the topic. ” quote=”Even the most well-designed course will flop if its intended audience doesn’t care about the topic.” theme=”style6″]
Do you have an established audience you can survey for possible topics? If not, do you know where and how you can access such an audience?
I’ll cover this in more detail below, but for right now, just understand the importance of choosing a topic your audience ACTUALLY wants to learn about!
-
Do I have the time to commit to creating my online course?
Anyone can slap together a course in a weekend….but to create a course you’ll be proud of (and that your audience will love!), you’ll probably need to count on at least a few weeks.
[click_to_tweet tweet=”Anyone can slap together a course in a weekend….but to create a course you’ll be proud of (and that your audience will love!), you’ll probably need to count on at least a few weeks.” quote=”Anyone can slap together a course in a weekend….but to create a course you’ll be proud of (and that your audience will love!), you’ll probably need to count on at least a few weeks.” theme=”style6″]
Keep in mind that you typically don’t just jump in and start creating content. You’ll first need to:
- Choose a course platform
- Brainstorm ideas
- Test those ideas with your audience
- Create an outline
Only then can you actually create your online course content…and filming, creating slides, writing content, etc. will likely be the most time-consuming part of the whole process.
-
Am I prepared to market the heck out of my course?
Many entrepreneurs think that once their course is ready to go, they can click “publish” and students will just magically start lining up.
Sadly, this is RARELY the case. Most of the time, it will take at least as much work to attract students as it does to actually create your course!
But don’t worry…I’ll give you step-by-step instructions below for how to get a steady flow of students for your course.
Step 2: Choose Your Online Course Software
One of the first big decisions you’ll need to make is HOW you want to host your course. There are three basic options:
- A course marketplace. This is one of the easiest ways to get your course up and running fast, with little to no “techy” skills. With a course marketplace, you basically sign up, and immediately start creating the content for your course. The main disadvantage is that you’ll need to pay a percentage of your earnings to the company. You also won’t be able to host your course on your own website…meaning you’ll have less control over your site design and format. While you’ll usually be able to purchase a custom domain name you can direct visitors to (e.g., yourcourse.com), your course will actually be hosted on the marketplace domain (e.g www.udemy.com/yourcourse). Some popular examples of course marketplaces are Udemy and Skillshare.
- A hosted platform. This is another easy way to create a course quickly and easily. In fact, in terms of usability, this option is pretty much just like using a course marketplace. The main difference is that you often have the option of paying a one-time or monthly fee, rather than paying a cut of your profits. A major disadvantage is that your course won’t get any promotion on the platform itself. While you won’t be hosting your course on your site, you can redirect visitors to a custom site url (e.g.,yourcourse.com). Some popular examples are Zippy Courses and Teachable.
- A self-hosted course. If you want maximum flexibility and customizability and aren’t afraid to get your hands dirty, a self-hosted option may be the right move for you (e.g., yourcourse.com or www.yoursite.com/yourcourse). While it takes a lot more work to set up and manage, the main advantage is that beyond the initial – usually one-time cost – of the software or setup, you don’t pay a cut of your profits. While you can hire a developer to design and set up your course site for you, a better option is simply to use a WordPress plugin. Some popular examples are LearnDash and AccessAlly.
Let’s look at each of these platforms in more detail.
Udemy
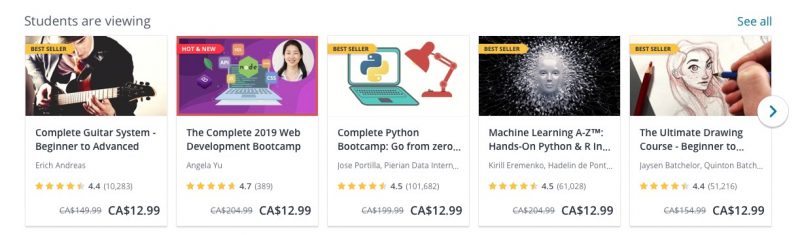
If you’re looking to get your online course up and running NOW, Udemy is one of the best options. You can literally sign up and start offering courses within a few hours, all without paying a single penny.
Udemy also provides a ton of free training to new course creators, so you can learn virtually every aspect of creating and marketing a course.
Pros: Requires no techy skills, super user-friendly, free to sign up, you only pay when your course sells, you keep 97% of the revenue for sales where you bring in the student (like through your website), built-in promotion on the biggest online course marketplace. Use Udemy’s Marketplace Insights to find course topics that are in demand.
Cons: Your course is hosted on Udemy rather than on your own site (e.g., www.udemy.com/your-course), low average course revenue (courses typically sell for $12.99), Udemy gets 50% of general course sales.
Skillshare
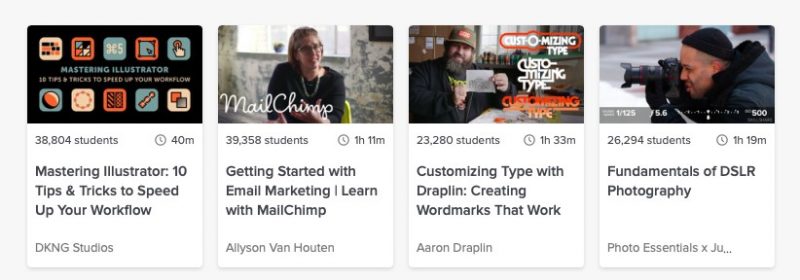
Skillshare is very similar to Udemy in that you can get your course up and running in no time at all. It’s quite user friendly, and it’s completely free to sign up as an instructor.
While Skillshare doesn’t have quite the reach of Udemy, you’re still likely to get quite a bit of reach…especially if your course gets picked up as a “trending” course.
The downside to Skillshare is their revenue model. Users pay a monthly subscription fee, and then you get paid $10 for each student who signs up for a premium subscription, as well as a small amount (somewhere around $.50) per minute watched in your class.
Pros: Requires no techy skills, free to sign up, built-in promotion, offers free 30-day course-building challenge to get you up and running.
Cons: Revenue model means you need a lot of students to make decent money; also means you don’t actually get to determine how much you charge for your course(s).
Thinkific
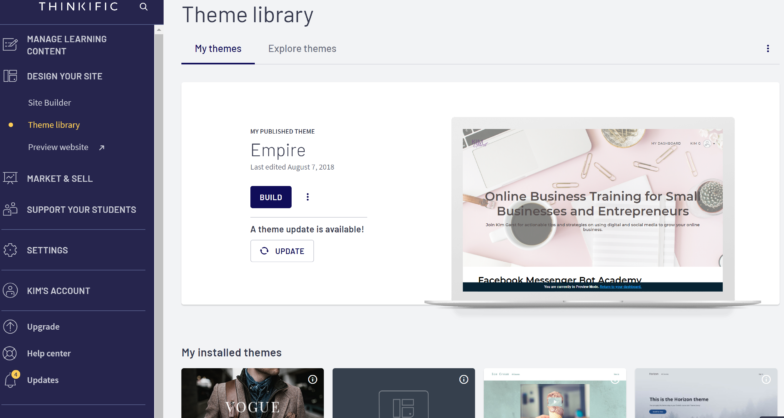
Thinkific is a great option if you want to create an amazing-looking course quickly and easily, but don’t want to go through a marketplace like Udemy. Probably the biggest advantage of going this route is that you can set your pricing to whatever you want, and you have the ultimate control of your site (for instance, you decide what your return policy is, whether you want to offer a sale or promotion, etc.).
Pros: User friendly, great customer service, tons of theme options and they offer a free trial that doesn't require a credit card. In addition, they have a free account with their core features only, which is a great way to get test the waters before committing to a paid subscription. And, they've shared a special discount of one month for free for my blog readers.
Cons: Monthly fees can be steep if you’re just starting out ($49/month + 5% transaction fees, OR $79/month with no transaction fees), you’ll have to do all your own marketing and promotion.
Zippy Courses
If you’re planning to create multiple online courses, Zippy Courses may be the way to go. Zippy is an all-in-one course creator that allows you to create unlimited courses, with unlimited sales pages and have unlimited students…and they don’t take a cut of your profits. Zippy also allows you to set different tiers for your course: for instance, offering a regular and premium tier.
Pros: Set monthly fee with no additional costs, web hosting included, 7-day $1 trial so you can try it out before you buy, all-in-one platform that specializes in helping you create AND market your course.
Cons: Monthly fee may be high when starting out (Starts at $99/month), you do all your own marketing and promotion.
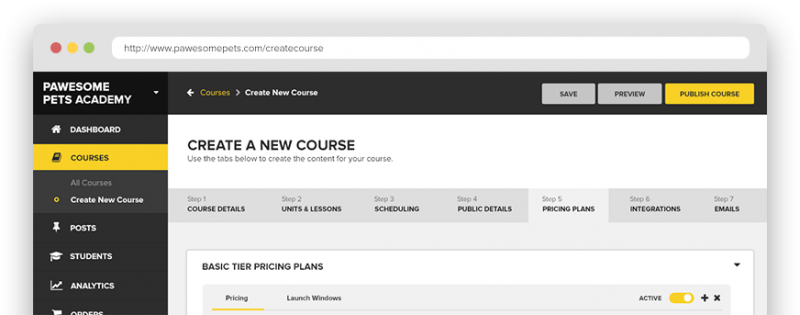
LearnDash

If you have a WordPress site, a plugin like LearnDash may be the right choice for you. It comes with all the features and benefits you’d expect from online course software, PLUS you host your course right on your own site (www.yoursite.com/yourcourse). This means you have total control and total flexibility over how you run your course. Of course, this also means that if you run into technical difficulties, the buck stops with YOU!
Pros: Pay a low one-time fee (ranging from $100-$185) rather than a monthly fee, don’t have to pay a cut of your profits, create unlimited courses with one plugin, integrates with your existing WordPress theme.
Cons: You need to have a WordPress site to use the plugin, need to pay each year if you want support and updates, you’re responsible for all technical elements of your course and site.
AccessAlly
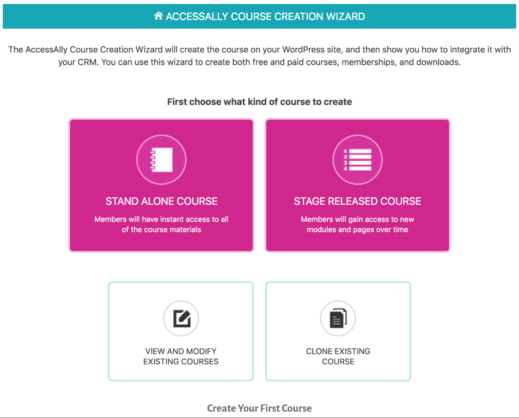
This WordPress plugin is a little different than other learning management systems because it is also designed to work as membership site solution. It far exceeds any others I have found…and it's the one I personally use on my site. The beautiful thing about AccessAlly is that with one tool, you can do payments, course creation, have complex integrations, do member management, along with some pretty amazing automations. Another cool feature is that it allows you to do quizzes – pretty cool, right?
Pros: The ability to host it on your own domain, have total control and ownership of course, no additional plug-ins required, built-in payment processor. integrates with your CRM and Stripe right out of the box.
Cons: To be honest, we haven't found any. If we do, we will let you know. Like LearnDash, you do need to have a WordPress site to use the plugin, and of course, you’re responsible for all technical elements of your course and site.
Step 3: Choose the Topic for Your Online Course
Once you’ve decided on the software you’re going to use, it’s time to decide on your course topic. I covered this briefly in step 1, but I’ll expand on this a bit here.
Choosing the right topic(s) for your course is SO important! You can create the most amazing content, but if it’s not something your audience wants to know about, you’re setting yourself up for failure.
If you already have an established audience, this process will be much easier. Following are 5 ideas for ways to pinpoint topics you KNOW your audience will care about!
-
Look through your emails and blog and social media comments
Oftentimes, the answers are right in front of you.
Scour emails and comments from your subscribers and followers and look for common threads. What are they regularly asking about? Are their problems coming up again and again? Do they have issues they are consistently struggling with?
Use this info to create amazing course content that addresses these issues.
-
Ask your audience what they want to learn about
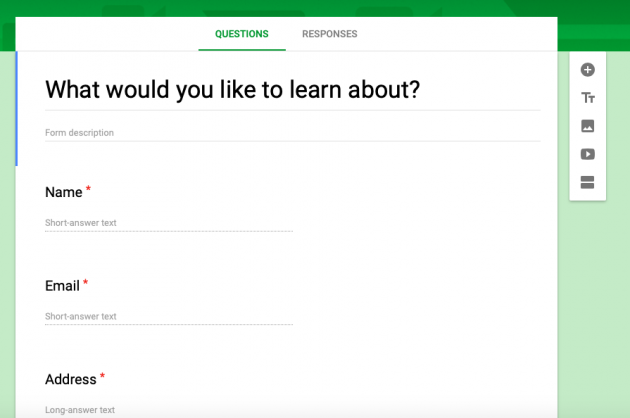
Why guess at your topic when you can just ask your audience?
Create a Facebook poll or tweet asking your fans or group members what they want to learn about. Better yet use Survey Monkey or Google Forms to ask about current pain points, struggles and needs.
Use what you’ve learned to not only decide on the main topic for your course, but to choose sub-topics.
This process takes much of the guesswork out of creating your content!
-
Mine your website and social media analytics for popular topics
Look through your analytics to see which topics are already making an impact with your audience.
Look at metrics like pageviews, post reach, likes/shares/retweets, and inbound links to see which topics are the most popular…and then build out your course content based on these topics.
-
See which courses people are currently looking for
Don’t have an established audience already? No problem! Here’s a cool little hack to find out what types of courses people in your niche are looking for.
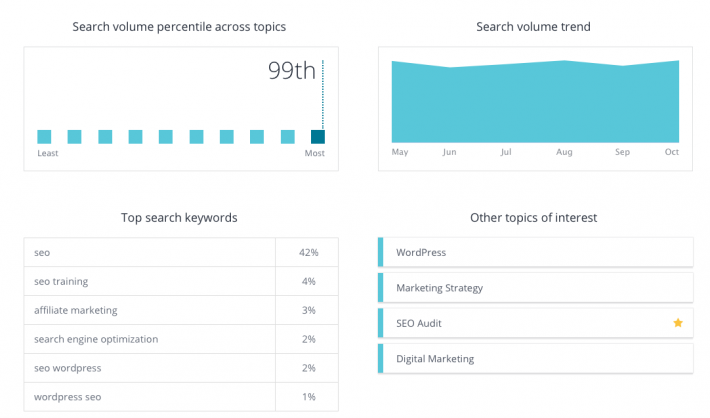
First, sign up as an instructor at Udemy. Don’t worry, this is 100% free!
Once you’re signed up, go to your Instructor Dashboard. You’ll see a tab at the top for “Marketplace Insights”.
Now simply plug in some keywords related to your niche, and Udemy will give you a bunch of info like demand for that topic, average monthly income from courses on that topic, related topics, and more!
-
Offer a transformation
With so much info out there, it’s not MORE info that people are looking for.
What they’re looking for is a transformation.
Based on your research, what kind of transformation can you offer your audience through your course? How will taking your course change their life, health or business?
[click_to_tweet tweet=”Based on your research, what kind of transformation can you offer your audience through your course? How will taking your course change their life, health or business?” quote=”Based on your research, what kind of transformation can you offer your audience through your course? How will taking your course change their life, health or business?” theme=”style6″]
For instance, if you’re in the health and wellness niche, do you want to offer “training to become more fit”, or do you want your students to “feel more confident in their own skin”?
Before you start testing and creating your course, make sure you know exactly what problem you’re going to help them solve, and what this transformation will look like!
Step 4: Test Your Idea Before Creating an Online Course
Validating your course idea will greatly reduce the risk involved in creating an online course. Basically what you’re doing is putting out feelers to see if your topic is actually going to sell…BEFORE you invest in expensive course software or spend weeks creating content.
Here are 5 ways to test your idea before you create a single piece of content!
-
Use an instant validation strategy
There are a few strategies you can implement that will give you some instant validation that there may be interest in your course topic.
While I definitely wouldn’t rely on these strategies alone, they’re a great place to start gauging possible interest in your course idea.
- Use Udemy’s Marketplace Insights (I covered this above)
- Use a free keyword tool like Google’s Keyword Planner to see how many people search for your topic in a typical month. The more searches there are, the more potential interest there may be for your course topic.
- Go to Amazon’s Kindle books and see if there are popular books on your topic. Again, the more books there are on your topic, the better!
- Go to YouTube and see if there are tutorials related to your topic. Lots of tutorials usually means lot of demand for learning about this topic.
-
Sell a mini-course
Via Gutsy Creatives
Create a mini-course on the same (or a very similar) topic to what your main course will be about. But instead of building out all your content, create only a small portion of it – like around 10-20%.
You can deliver this content via a Facebook group by using Facebook’s Social Learning units, or even just via email.
However you structure your mini-course, I recommend charging for it…even if only a nominal fee. The reason for this is simple: you want to validate whether or not people are actually willing to pay for your course…not just download it for free.
-
Sell a simple info product
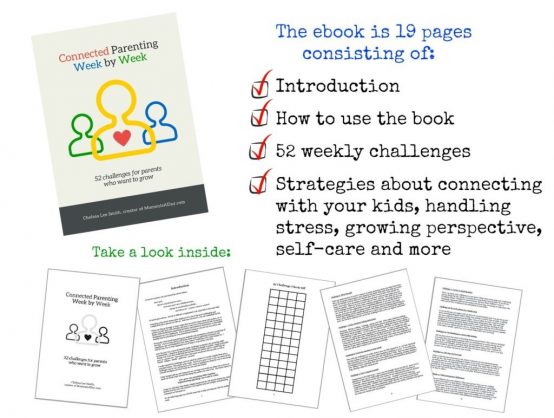
Via Moments a Day
Creating a short eBook or guide is another low-risk way to validate your course idea.
Using the strategies outlined in step 3 above, first decide what topic(s) you’re going to cover. Then, take a day or two to create an awesome downloadable product you can promote to your audience.
Again, I strongly recommend charging for your product to see whether people are willing to pay for content on this topic.
You don’t have to charge a lot, but even charging $10-$20 will give you a pretty good idea of how viable your course may be.
-
Pre-sell your course
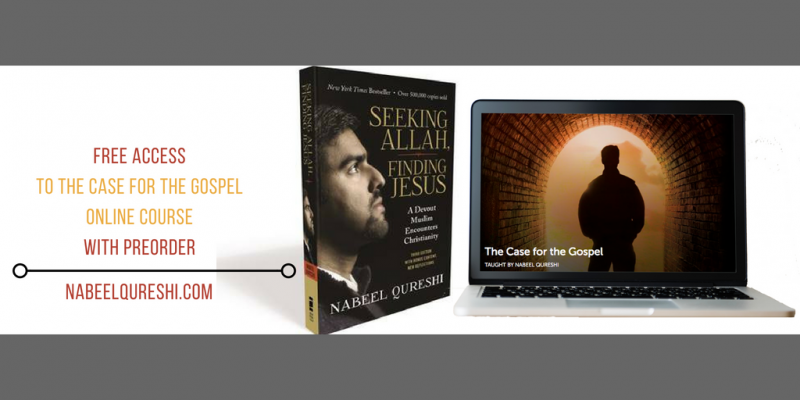
Via Nabeel Qureshi
This strategy is a little bit more risky, but is probably the BEST way to find out whether your course will sell or not.
Here’s how it works: First, decide on the topic and name of your course, and come up with a brief overview. It doesn’t have to be precise, just make sure you have a good handle on what most of your subtopics will be.
Next, create a simple landing page where you outline your course. If you like, you can create a simple graphic to promote your course using a free tool like Canva.
Finally, mention that you’re taking pre-orders for your course, and let people know when they’ll receive access. Offer an early bird discount, and provide a way for them to purchase the course.
That’s it! If your course sells, you know you’re onto something big.
Of course, the downside to this strategy is that if you DON’T get many bites, those who bought your course will likely be disappointed…and you’ll have to give back the money from pre-orders.
Nevertheless, if you want guaranteed validation before you create a single word of your course, this is the way to go!
-
Start a waitlist for your course
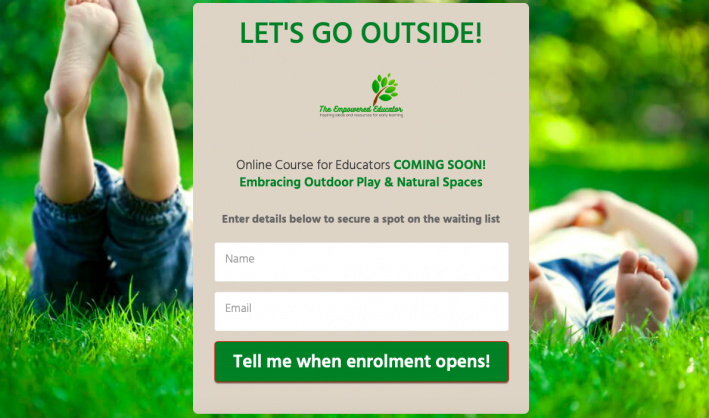
This one is similar to #4, but you won’t actually be accepting payment for your course. Create a simple landing page for your course, but instead of having a payment button, have an email signup link.
Let visitors know that signing up for your course waitlist will guarantee them a lower price once your course launches.
The best part of this strategy is that while you’re busy creating your course, you can continue emailing your list to generate excitement about your launch.
Keep in mind that not everyone who signs up for your waitlist will actually buy your course. Your conversion rates will vary significantly (often from 5-50%) depending on how long people have waited, what price you ultimately decide on, etc.
BUT, this can still be a good way to gauge general interest levels in your course.
Step 5: Create Your Online Course!
Not much to say here: once you’ve chosen your course software, decided on a topic and validated your course idea, you’re ready to actually create your course.
Your course will likely consist of a combination of text, slides, videos, worksheets, and possibly even quizzes.
The type of content you’ll create will vary depending on your niche, audience, topic, and the course software you’re using.
Most courses are structured in modules – usually anywhere from 7 to 15, depending on how in-depth your course is.
Some general tips as you create your course content:
- Start by creating a course outline with main topics and subtopics
- Run your outline by a few friends or colleagues to make sure you’re not missing anything
- Focus less on theory and more on practice. People want actionable steps they can take to achieve their transformation!
- Use a variety of delivery methods. For instance, even if you’re mostly using slides, be sure to throw in a few videos and worksheets to make sure you keep your students engaged.
- For videos, decide whether you’re going to do the whole “talking head” thing (your face in front of the screen) or simply screencasts (like a slideshow with voice-over narration).
- Keep videos short. Some research suggests 6 minutes or less is preferable.
Step 6: Market Your Online Course
I find this is the step that’s actually the most daunting for many entrepreneurs. They’re so excited to create content for their course, but then once the course is ready to go, they’re at a loss for what to do next.
Some course-creators assume it’s enough to simply create a few Facebook posts or tweets letting their audience know about their course.
Unfortunately, this is rarely enough to generate a real buzz about your course.
The final section of this guide will walk you through a step-by-step strategy for getting a steady stream of students who will be singing the praises of your course!
-
Create a free digital product related to your online course
With so many businesses vying for the attention of your audience, it’s your job to make sure your potential students know what you’re offering and why they should take your course.
[click_to_tweet tweet=”With so many businesses vying for the attention of your audience, it’s your job to make sure your potential students know what you’re offering and why they should take your course.” quote=”With so many businesses vying for the attention of your audience, it’s your job to make sure your potential students know what you’re offering and why they should take your course.” theme=”style6″]
This will mean establishing yourself as an expert in your niche. And THIS will mean showing that you know what you’re talking about!
Some types of free digital products – also known as freebies or lead magnets – you can create include:
- A 7-day challenge
- A mini-course
- A webinar
- A part/module of your actual course
Generally speaking, it’s best to choose a lead magnet that’s as closely related to your course topic as possible. For instance, if your course is about how to launch a wedding cake business, your freebie could be about wedding cake decorating ideas, or even the detailed first-step in launching a cake business.
[click_to_tweet tweet=”Generally speaking, it’s best to choose a lead magnet that’s as closely related to your course topic as possible. ” quote=”Generally speaking, it’s best to choose a lead magnet that’s as closely related to your course topic as possible. ” theme=”style6″]
In terms of the format for your freebie, I highly recommend trying a webinar first. According to ConvertKit, average conversion rates from a webinar are somewhere around 15%. This means if you get 100 people to your webinar, you can expect somewhere around 15 people to actually buy your course!
-
Include a call to action to check out your course
Regardless of which type of freebie you create, it’s important you let your viewers/participants know about your course.
[click_to_tweet tweet=”Regardless of which type of freebie you create, it’s important you let your viewers/participants know about your course.” quote=”Regardless of which type of freebie you create, it’s important you let your viewers/participants know about your course.” theme=”style6″]
This is generally done at the end of your mini-course, webinar, etc. and is often combined with a special limited-time discount or offer.
For instance, you might offer a 20% discount on your course, but only for 12 hours following the webinar, challenge or mini-course.
This will generate a sense of excitement about your course, while also encouraging people to sign up ASAP.
-
Promote this product to your audience
Using whatever strategies you’d normally use to reach your audience, let them know about your free product.
This might mean promoting it via:
- Your email list
- Social media
- A blog post
- A banner ad in your sidebar
- PPC ads
- A partnership with another business in your niche
One word of caution here: Be transparent about what you’re doing here! People are increasingly aware of the fact that it’s rare to “get something for nothing”…and will likely be wondering why you’re offering a free webinar, mini-course, etc.
Don’t be afraid to let your audience know the reason you’re doing this – that you hope they’ll be so happy with what they learn via your free product that they’ll want to buy your paid one!
-
Automate the process above
Creating your freebie and going through the steps above will take a good chunk of time…at first. But the good news is that once you’ve done it once, there are ways you can automate this entire process – meaning you can continue to automatically generate a steady flow of new students for the foreseeable future!
One way to do this is to set up an email campaign.
Here’s one way this can work: Have an ad up on your website that entices visitors to sign up for your freebie. Once they’ve signed up with their email, you can continue to send helpful and relevant emails. And of course, they will also see the call to action (#2 above) to buy your course.
Continue to tweak your emails to see what works for your audience. Once you’ve found a system that works well for you, you’ve basically created an automated lead generation machine!
Final Thoughts
I hope this post has gotten you excited about creating your first online course. I truly believe that online courses are one of the best ways for service-based businesses to stop trading time for money, and to reach a much larger audience than they otherwise could.
What’s next for you? Are you going to create an online course? Let me know in the comments below!
4 thoughts on “How to Turn Your Expertise into Passive Income: Create an Online Course to Stop Trading Your Time for Money”
Thank you Kim for this great info. I leaned a lot from it. I’m happy that I landed on your site.
Hi Good and nice information. Thanks for sharing this information.
Hi there! Superb blog! Your information is very helpful and useful. Thanks for sharing your experience with us. Keep blogging!
Creating an online course can be a great idea and can help people to learn and grow. Thanks for sharing.